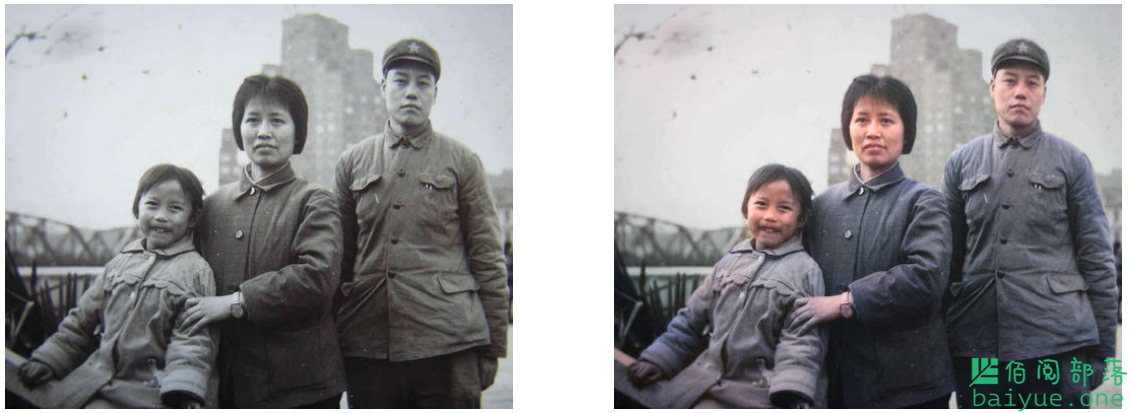
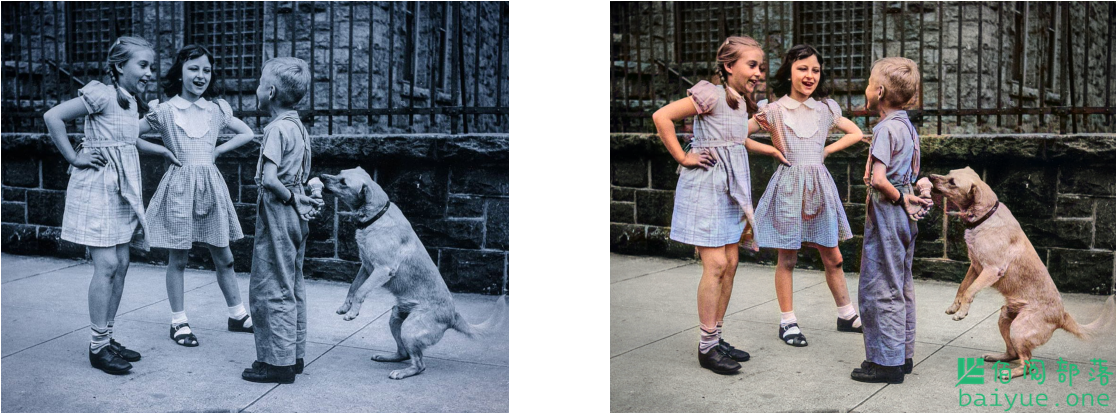
我们特别感谢DeOldify的开发者jantic,该项目处于持续维护状态,参与贡献人数已有 25 人,使用一种NoGAN的神经网络来训练,最终使得复原的照片毛刺几乎完全消失、人物皮肤更为自然,效果逼近真实的照片。

0. 测试环境
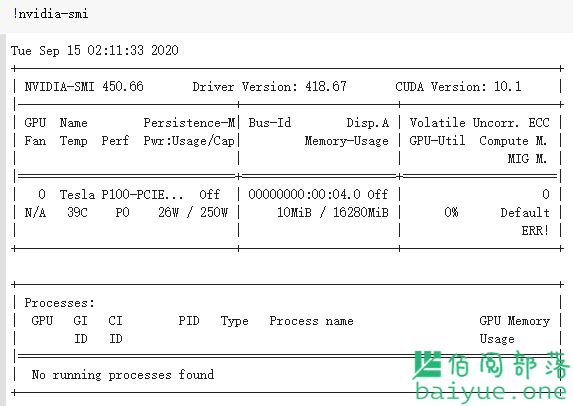
线上谷歌实验室,使用 pytorch 和Tesla P100的 GPU,附上 Colab 实验室地址。
1. 效果图
如开头的清朝宫女图,图中的格格衣着富贵,人像皮肤也是黄种人的质感,背后的青砖、树木都接近真实情况。 上图则是袁隆平早年在实验室进行水稻研究(图片来源:中国新闻网),脸上洋溢着实验成功的喜悦,也足见当时年轻一代人的艰苦奋斗精神。
再来看些其他的一些照片着色效果图,旧照片均来自网络:


2. 代码解析
项目开源地址: https://github.com/jantic/DeOldify
从目前的实际体验来看,开发组训练的模型已经非常出色了,对于普通人而言,完全可以拿来直接使用。因此,上述结果的输出在 colab 上直接使用即可。主要步骤就是下载模型,然后带入图片着色模型进行实际输出。
首先获取项目源代码:
git clone https://github.com/jantic/DeOldify.git DeOldify
cd DeOldify
其次下载开发者们已经训练好的模型:
mkdir 'models'
wget https://www.dropbox.com/s/zkehq1uwahhbc2o/ColorizeArtistic_gen.pth?dl=0 -O ./models/ColorizeArtistic_gen.pth
然后安装好项目需要用到到 Pytorch 等 python 的库:
pip install -r requirements.txt最后运行代码即可:
import torch

if not torch.cuda.is_available():
    print('GPU not available.')

import fastai
from deoldify.visualize import *

torch.backends.cudnn.benchmark = True

colorizer = get_image_colorizer(artistic=True)

source_url = 'https://i.redd.it/x8vuzbvl84n51.jpg' #@param {type:"string"}
render_factor = 25  #@param {type: "slider", min: 7, max: 45}

if source_url is not None and source_url !='':
    image_path = colorizer.plot_transformed_image_from_url(url=source_url, render_factor=render_factor, compare=True)
    show_image_in_notebook(image_path)
else:
    print('Provide an image url and try again.')
3. 关于不懂代码的小白
如确实有旧照片着色或放大需求,可以联系博主进行修复。
4. 小结
实际上DeOldify项目不止做了旧照片修复着色工作,还做了旧视频修复着色,此外还有插画着色、素描着色等等,不得不感叹 AI 深度计算在图像修复领域的万丈光芒。本站将在后期陆续介绍其他用途,另外这款工具可以尝试做一个 web 在线转换系统。
